All posts filed under: College

2 Best Online Courses Platforms

During the pandemic season, our travel adventures are affected, and as a result, we spend most of our time at home with our loved ones. Spending a lot of time at home is crucial because it’s time-consuming. After all, I felt so unproductive and boring. Since I was planning for my career change, I stumbled on these two platforms that caught my attention. I’m not saying that these two platforms are the best among others, but instead, these two helped me choose the career that I am aiming for. I enrolled in the Writing Your First Novel course by David Wheeler at Coursera and a Blogging for Beginners course by Tyler Speegle at Udemy. These two are free unless you buy their certification. (I’m still planning if I will get a certificate or not) I have a challenging journey with my career, but I will not give up until I become successful.

6 Things to Consider in Choosing a College Course

July is the month for graduation, and many students unlocked a new achievement to start the real journey of life. Some students are nervous and still confused about what course they are taking. What field they will excel in and where they will grow? I will give six things a student must consider in choosing a college course. 1. College Course that you Want You have to follow your heart. You have to choose the course that you know you will enjoy and grow. Considering further advice from your family, friends, or relatives is okay, but at the end of the day, the final decision must be your interest and the field that you know you can handle until the end. The common mistake of some students who shift from one course to another is they don’t like the course that they choose and enroll in because their parents told them to choose it, or they are undecided. That’s why they decide what they think is easy. 2. Hobby or interest If you are good …

DA BIOTECHNOLOGY PROGRAM

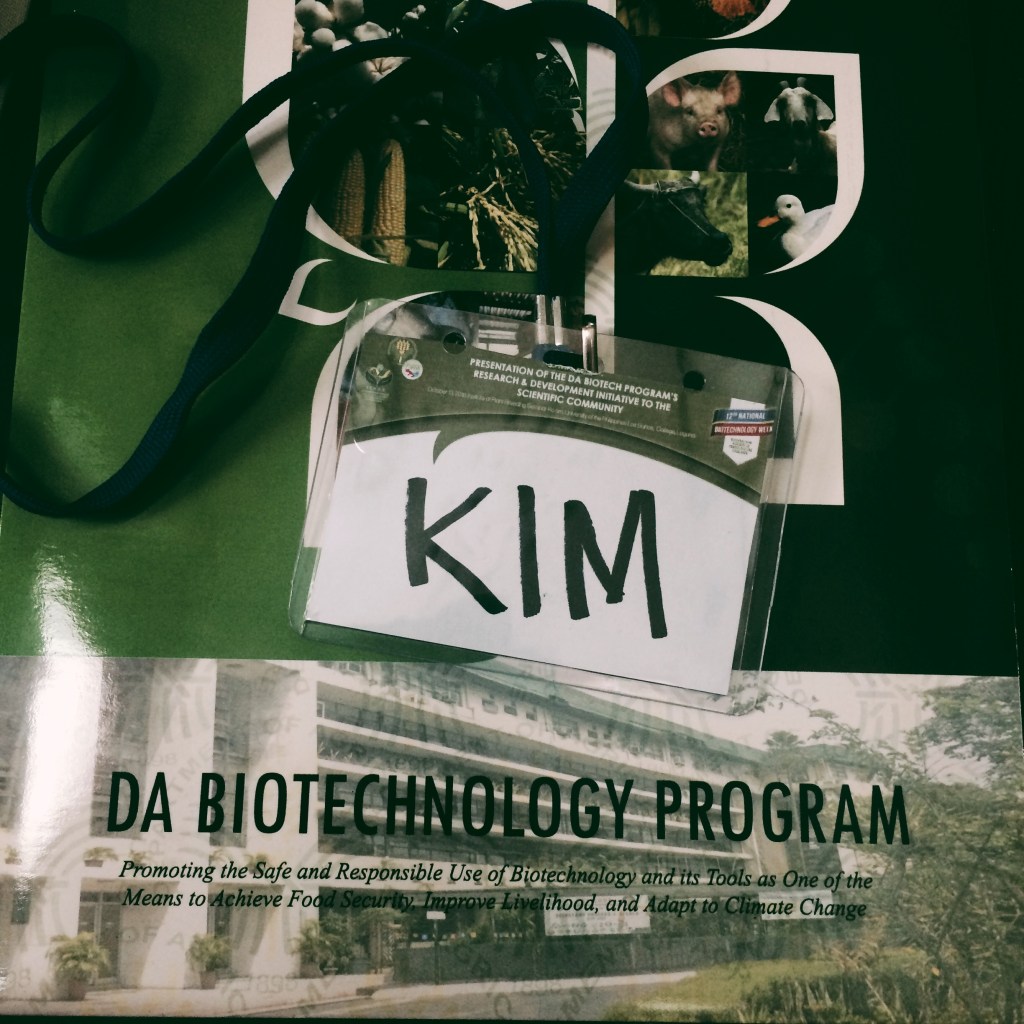
It’s a pleasure to be here at the DA Biotechnology Program event. During this gathering, researchers have the opportunity to showcase their latest research findings to an engaged audience, primarily composed of UPLB students, researchers, and professors. The students, in particular, have been given name tags for easy participation in open forum sessions. Throughout the day, attendees are treated to complimentary meals, coffee, and snacks, making the event both intellectually stimulating and quite satisfying for the taste buds. Moreover, the generosity of the Biotech program extends to the distribution of giveaway products, adding an extra layer of appreciation for those in attendance.

How to make SDS Gel?

One widely used method for protein separation via electrophoresis employs a discontinuous polyacrylamide gel as the support medium and utilizes sodium dodecyl sulfate (SDS) to denature the proteins. This method is commonly known as sodium dodecyl sulfate-polyacrylamide gel electrophoresis (SDS-PAGE). To begin, you’ll need two gel casts, each comprising four gel plates, four gel plastics, and eight spacers. Assemble these components and secure them with the gel cast cover. Be cautious and mindful of the acrylamide kit, which should be retrieved from the refrigerator and handled in a fume hood due to potential health risks associated with excessive inhalation. The first step involves preparing the resolving gel mix, designed for the separation of proteins based on their molecular weight. In a beaker, combine the following ingredients: 38.80 mL of nano-pure water, 19.88 mL of acrylamide, 20.00 mL of resolving buffer, 760 µL of SDS, 560 µL of APS, and 44 µL of TEMED. Carefully agitate the solution and set your pipettor to 5 mL for transferring the prepared solution (the resolving gel mix) into the …

How to do SDS PAGE

Here’s the protocol for preparing and running 30 percent SDS-PAGE gels: 1. Retrieve the SDS gels as these are the ones we’ll be using for this procedure. 2. Prepare your extracted samples by gathering the following items: a tray with crushed ice, pipettor, 96-well plate, extraction buffer, sample buffer, and the protein extracts (the samples that have been extracted). Thaw the samples and ensure they are fully defrosted. Use a vortex to thoroughly mix the samples. 3. Take 20 microtubes containing protein extracts and place them in a centrifuge. Spin the centrifuge for five minutes to separate any debris. 4. Label the 96-well plate accordingly, designating ten wells for rice and ten for maize samples. 5. With the pipettor set to 50 µL, add the sample buffer to each well. 6. Reset the pipettor to 35 µL and add the extraction buffer to the designated wells. 7. Reset the pipettor again to 15 µL and add the protein extracts to each well, where the sample and extract buffers have been placed. 8. Heat the 96-well …